- Author Xavier Leapman leapman@sportexistence.com.
- Public 2023-12-17 08:45.
- Last modified 2025-01-24 17:43.
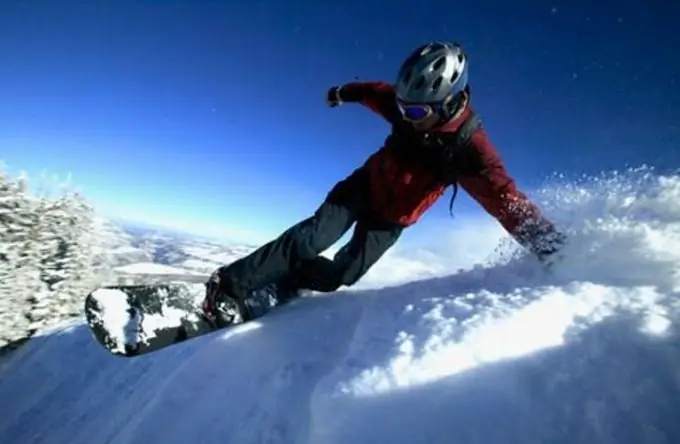
Snowboarding is a very useful and popular sport, entertainment and recreation, available to a huge number of people. As with most similar sports, snowboarding depends a lot on the right gear and gear, as well as their setup and fit.

It is necessary
You will need a large Phillips screwdriver to properly install most bindings on your snowboard, everything else is included with the bindings
Instructions
Step 1
In order to properly install the bindings on the snowboard, you first need to determine the stance of the skater, that is, the leg that will be in front when skating. This can be done in several ways. Without leaving the house, you need to stand up straight, feet shoulder-width apart, and ask someone close to you slightly, but unexpectedly, to push you in the back. Whichever foot a step is taken to maintain balance, that foot will be the "front" foot. On the street, you can ride on the ice or down a slide - the leg that is in front during such skiing will also be in front when riding the board.
Step 2
The next step is to determine the width of the rack. It is generally accepted that it is usually equal to the distance from the floor to the middle of the knee of the rider. Approximately the same distance should be between the centers of the fastening discs. Place the discs against the center mounting holes on the board. If the distance between them matches the width of the rack, install the brackets on these holes. If not, carefully move the discs to obtain the desired distance.
Step 3
Now you need to set the corners of the mounts. As a rule, these angles are purely individual for each rider, but for the first exits on the slope, you can put the most common ones. Thus, the front mount should be set 15-20 degrees from the transverse axis of the board towards the nose, and the rear mount should be set exactly or +/- 5 degrees. There are special markings on the mounts discs, so there shouldn't be any difficulties with this.
Step 4
It remains to insert the boots into the bindings and carefully move the bindings so that the toes and heels of the boots protrude equally relative to the edges of the board. To do this, you must use special transverse slots in the mounting discs. After that, the boots must be removed from the mounts and using a Phillips screwdriver, carefully screw both mounts using the supplied washers and screws.

